How to Start: Inspect the Starlet Motel Poster in Chapter 2 or Later
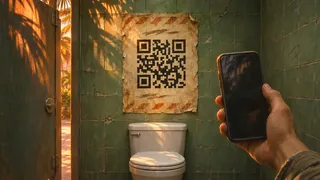
The mission starts when you inspect the missing persons poster at the Starlet Motel reception in Chapter 2 or later (Game Rant); The Big Lead says to zoom in on the poster with L2.
Call triggers differ across the guides.
| Progress requirement | Chapter 2 or later (Game Rant) |
|---|---|
| Starting point | Missing persons poster at the Starlet Motel reception |
| Button labels in the guides | L2 (The Big Lead); △ / Y and □ / B (as written by Cultured Vultures) |
| Platform, build, region | Not identified in the three English guides |
GTA VI Chapter 2 Spoilers: Starlet Motel Rent (Overnight Charges and Behind on Payments)
How to Start at Starlet Motel and Search the Port Gellhorn Warehouse
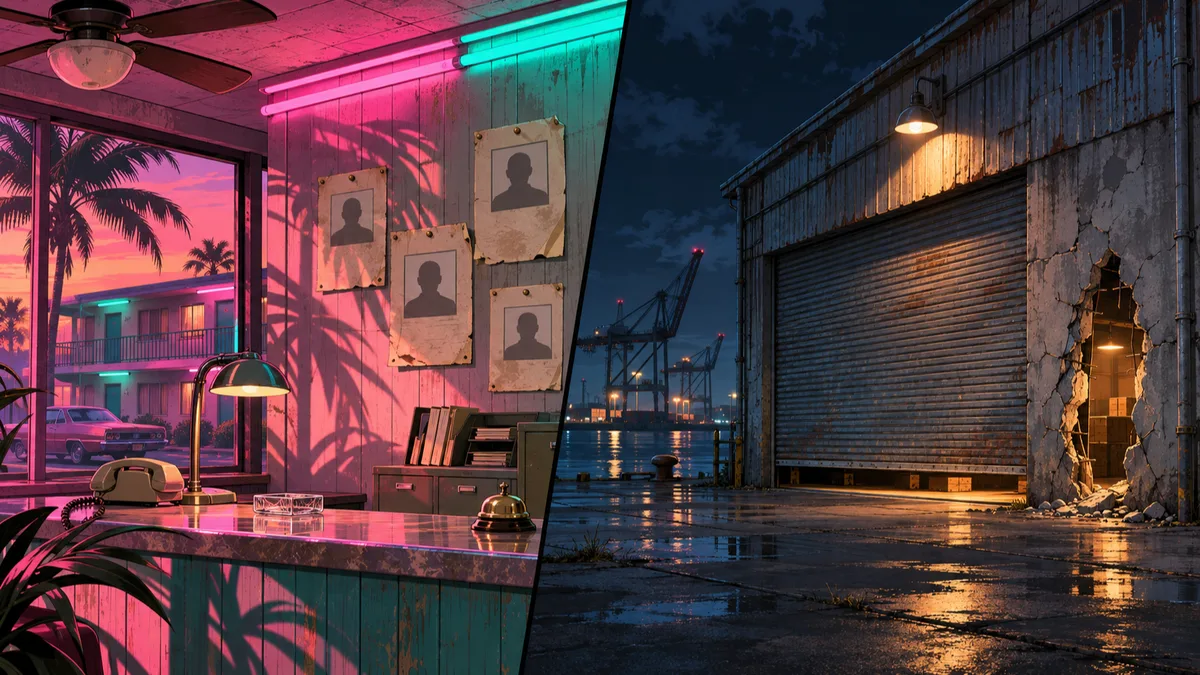
Begin at the Starlet Motel reception from Chapter 2 onward, then travel to a warehouse near Moses' garage in Port Gellhorn to collect clue photos. The three outlets describe its exact spot differently: Game Rant places it across from the garage, Cultured Vultures places it east of Moses, and The Big Lead places it behind the shop that sells cars.
- Visit the Starlet Motel reception and zoom in on the missing persons poster with L2 to inspect it (The Big Lead).
- Go to the warehouse near Moses' garage in Port Gellhorn. The front shutter starts to open and then closes, so go around to the hole in the right-hand wall.
- Pass through the hole and follow the lights into the back room.
- Inspect the three lockers in the back room and take photos to gather the clues for the three locations.
Three Body Locations and How to Report Them
Use the clue photos to visit three sites, inspect each body, and report it. The order follows the report by Jimmy Donnellan on Cultured Vultures.
Reporting mechanics differ across the guides. For the first location, The Big Lead says your character calls the hotline automatically once you have seen the body, while Game Rant says "you examine it again to call the help line." If the call does not happen automatically, examine the body again or press △ / Y to report it (Game Rant / Cultured Vultures).
A Cultured Vultures screenshot shows a map screen with a JUNKYARD PHOTO prompt to check the photo album.
- At the junkyard east of Pay ’n’ Spray, open the trunk of the pink car with plate PRTYGRL.
- Inspect the body in the trunk. If the hotline call starts automatically, leave a message. If it does not, Game Rant says to examine the body again. Cultured Vultures gives △ / Y as the report button at this location.
- At the trailer park under the large water tower north of town, enter the accessible trailer (described as blue by Game Rant), inspect the floorboards on the right, and call again. Cultured Vultures reports that someone answers on this call.
- At the lake west of town bordering Wild Hog Point, approach the submerged car, inspect it, and report it.
| Location 1 | Junkyard east of Pay ’n’ Spray / trunk of the pink car (PRTYGRL) |
|---|---|
| Location 2 | Trailer park under the large water tower north of town / floorboards on the right in the accessible trailer |
| Location 3 | Lake west of town bordering Wild Hog Point / submerged car |
See maps and screenshots for the three search locations (Cultured Vultures)
Spoiler Warning: Ending, Mine Rescue, and Confrontation
After you report the third body, you are called back to the warehouse. Sources disagree on the man's name spelling: Game Rant and The Big Lead write Alvin West, while Cultured Vultures writes Alvan West, leaving the official in-game spelling unconfirmed.
The sequence below is based mainly on a single report by Jimmy Donnellan on Cultured Vultures and may differ in detail across playthroughs.
- Follow the instructions and return to the warehouse alone (Game Rant).
- Meet the man from the hotline at an altar, view photos of Jason and Lucia in the fifth locker, collapse from drugs, and take control of the partner who stayed away from the warehouse (Donnellan switched from Jason to Lucia).
- Follow the messages to the mine, move the rocks, and rescue your partner from inside a box.
- Head down-left from your partner and fend off an ambush using □ / B (as written by Cultured Vultures).
- Follow the voice down the slope to the confrontation with the man. According to Game Rant, he dies no matter where you shoot him. The exact final action of the confrontation is unconfirmed. In Donnellan's report, you can pick up his glasses afterward.