
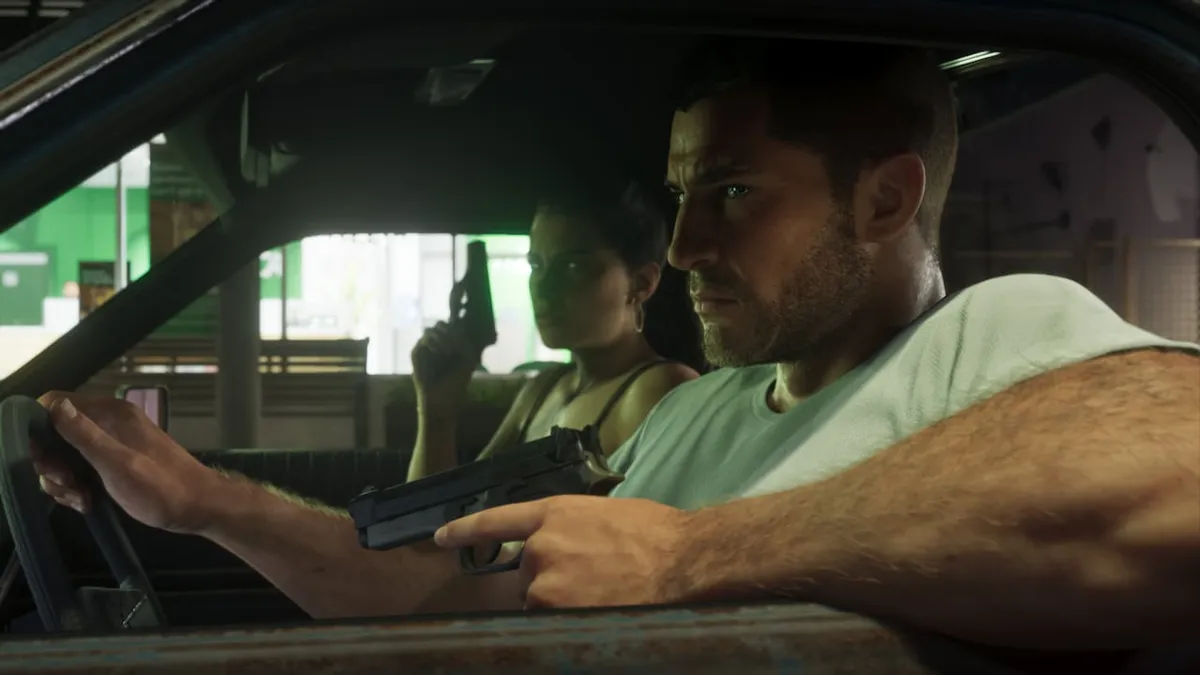
How to open the Controller tab on PS5
On PS5, stick deadzone, vibration, adaptive trigger, and camera inversion settings are all in the Controller tab of Settings.
Press Options, select Settings, and move to the Controller tab with R1 (steps per How To Video Game's camera inversion guide).
- Press Options
- Select Settings
- Move to the Controller tab with R1
Where to adjust deadzones, vibration, and adaptive triggers
Stick deadzones, vibration, and adaptive trigger options sit under DualSense features inside the Controller tab. Left and right stick deadzones are separated so you can adjust each stick independently.
The Controller tab also has Adaptive Speed Limiter, a separate driving speed-limit feature distinct from the trigger resistance and vibration options (Vice Manual's hands-on record).
The values below are what Vice Manual's capture showed in the Controller tab on the launch PS5 version with English UI. The capture doesn't indicate whether these are defaults or what range each setting allows.
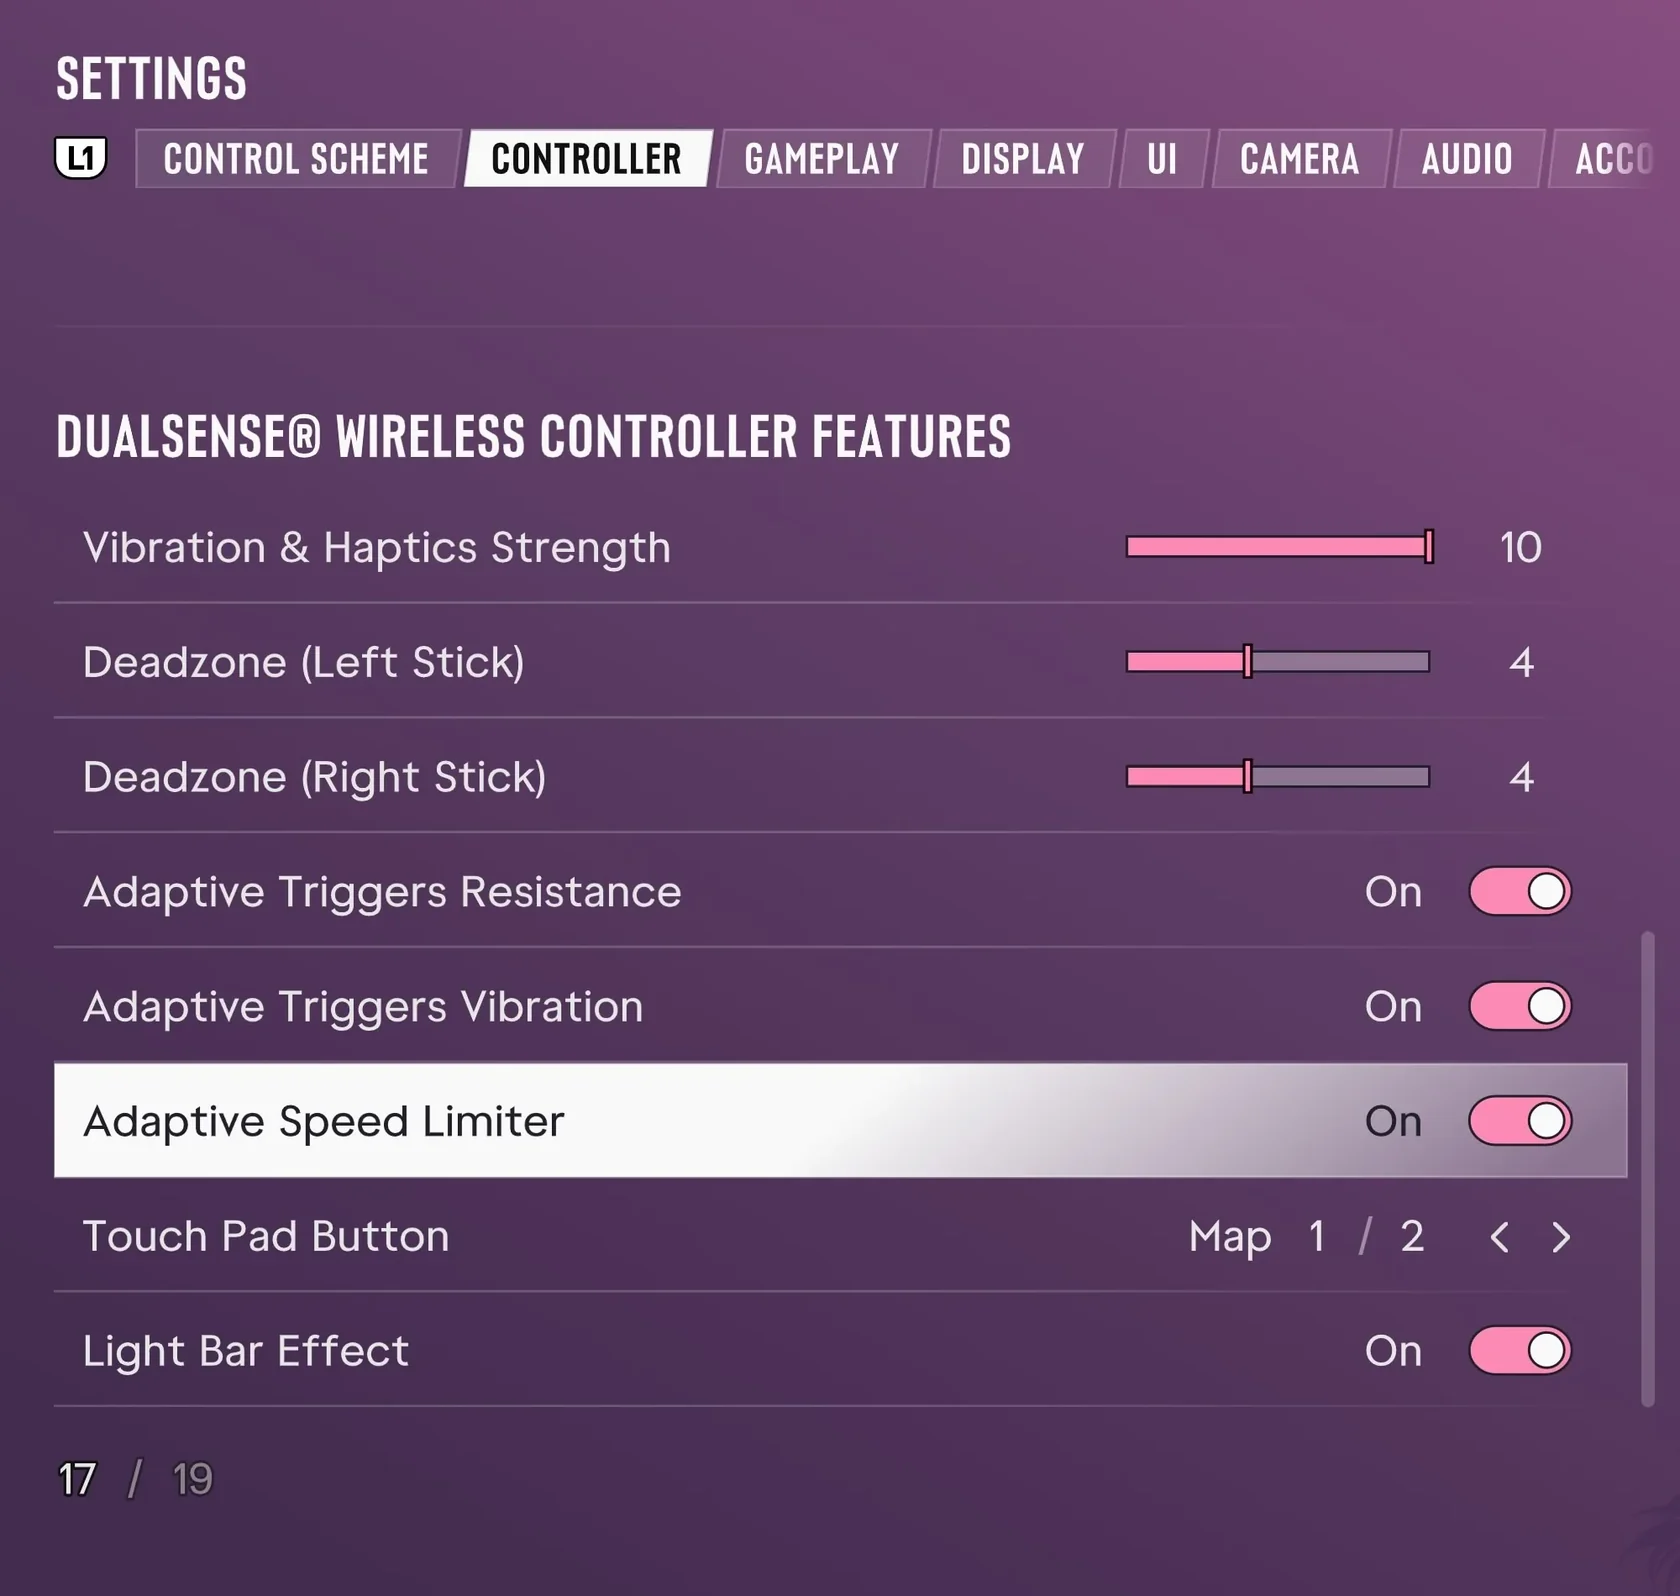
| Deadzone (Left Stick) | 4 |
|---|---|
| Deadzone (Right Stick) | 4 |
| Vibration & Haptics Strength | 10 |
| Adaptive Triggers Resistance | On |
| Adaptive Triggers Vibration | On |
Where to adjust inverted camera controls
Per How To Video Game's guide, PS5 camera inversion is located under Inverted Controls in the Controller tab, where Look sets how the right stick moves the camera.
Rockstar's official support article on GTA VI settings also lists inversion under Inverted Controls in the Controller tab.
- In the Controller tab, select Look under Inverted Controls
- Choose one of the three settings other than Default
- Move the right stick and check which way the camera turns
| Look | Right-stick camera (4 settings; starts on Default as the first) |
|---|---|
| Movement | Separate item under Inverted Controls |
| 3D Map Rotation | Separate item under Inverted Controls |
| Aircraft Movement | Separate item under Inverted Controls |
See the “Look” inversion option on the Controller tab (How to Video Game)