What Vehicle Heat Is and What Pay ’n’ Spray Clears
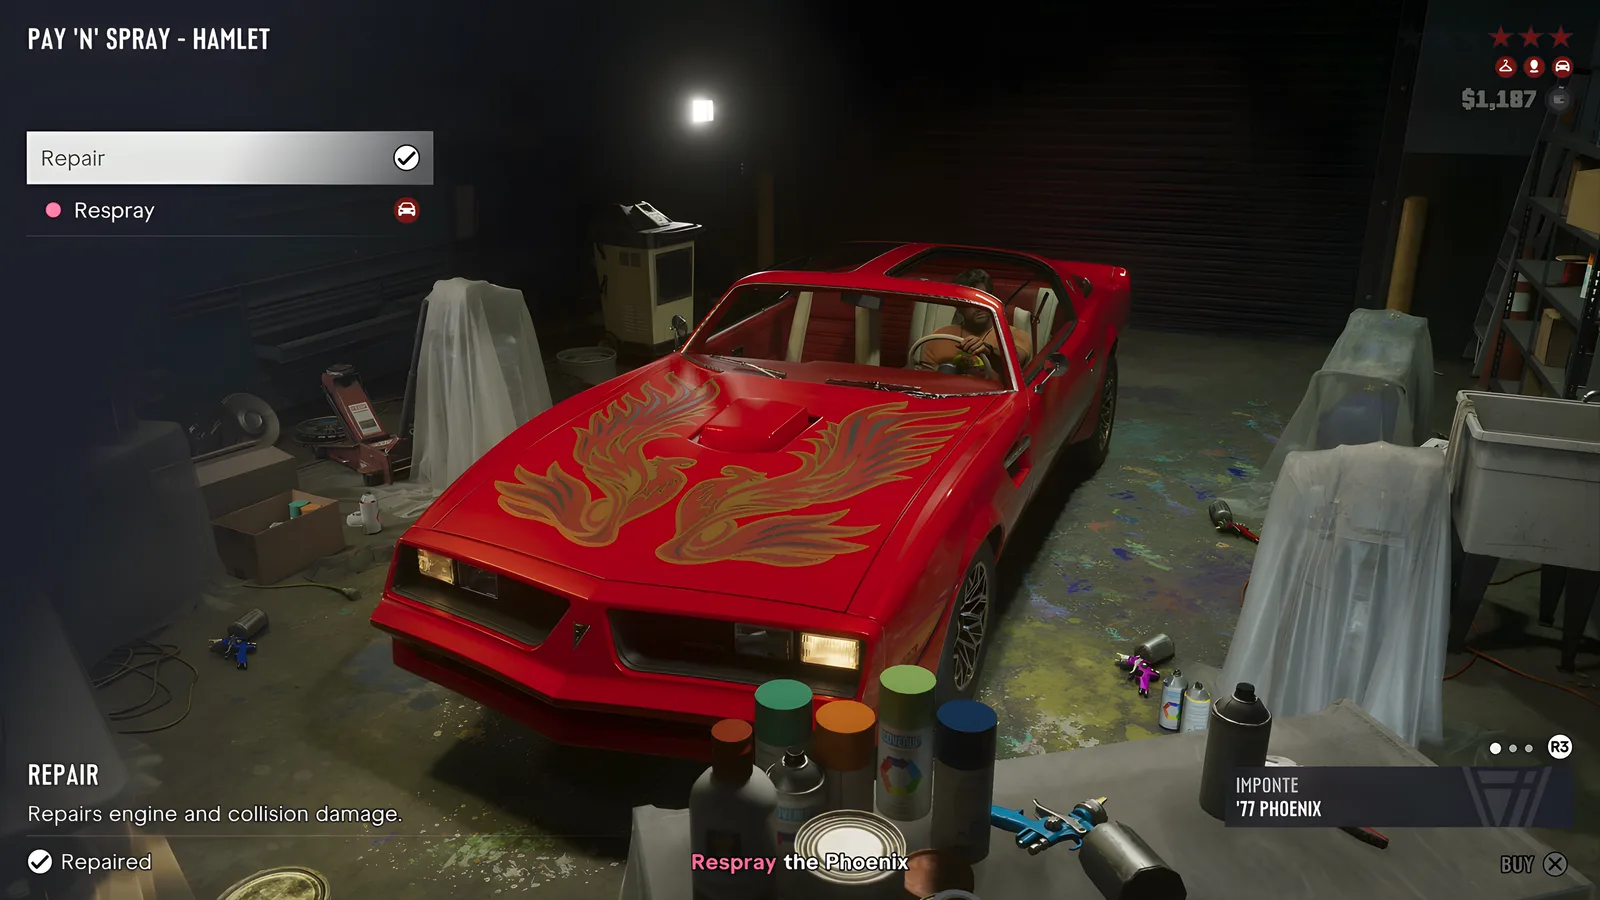
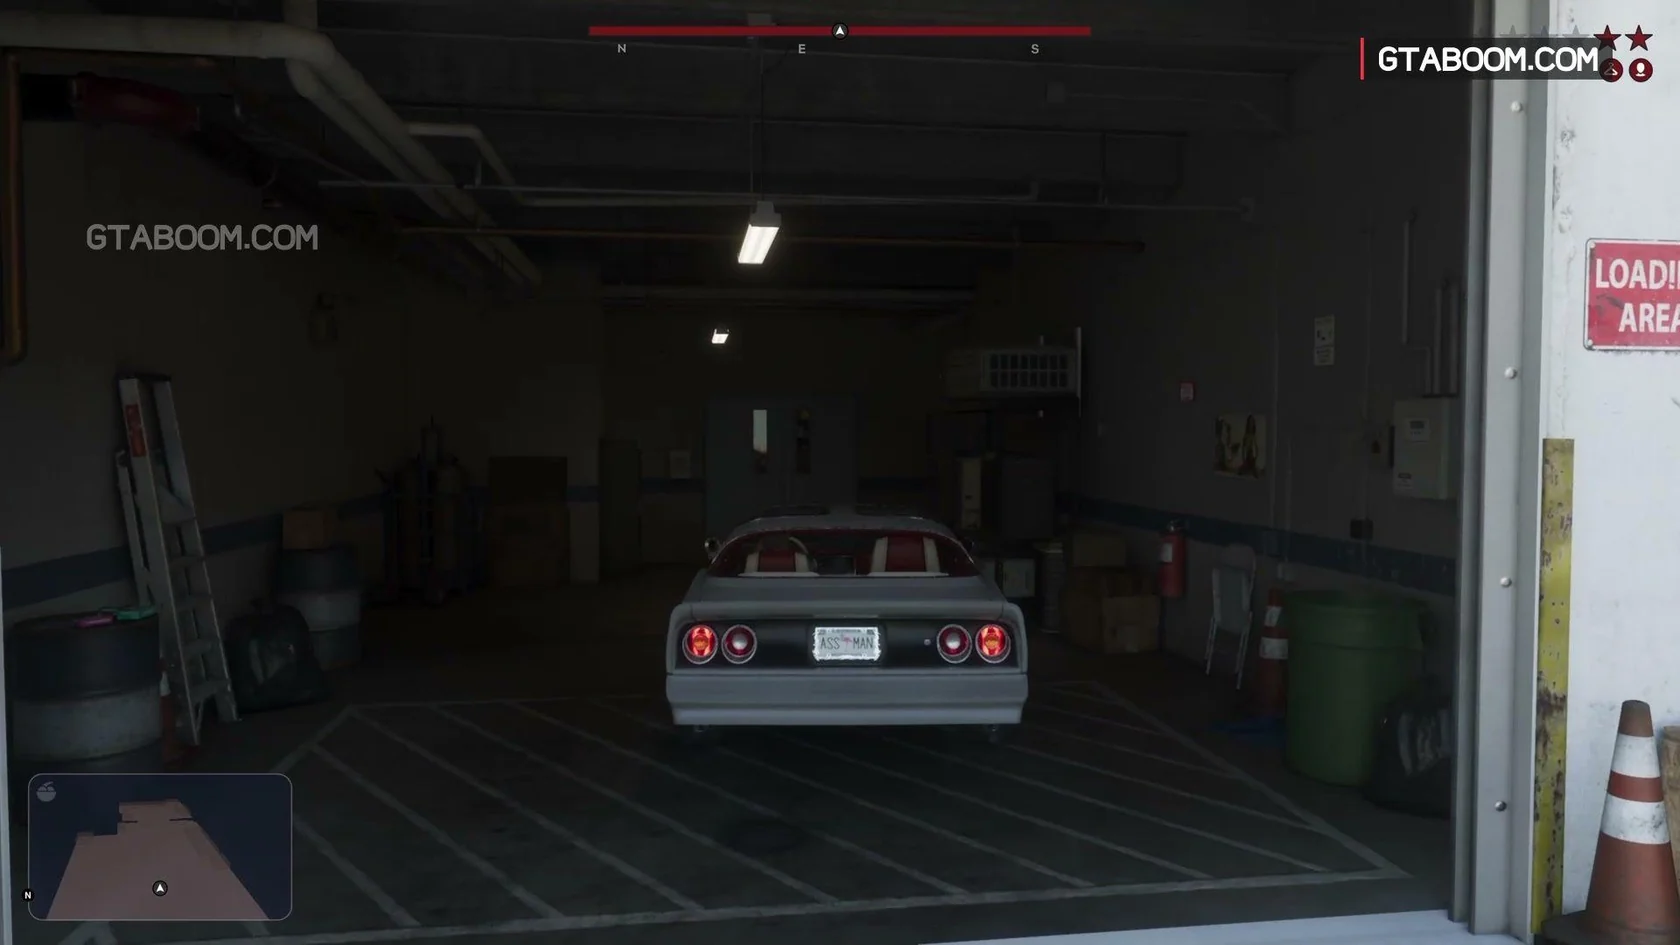
Buying a Respray at Pay ’n’ Spray for a car that has vehicle heat removes the car icon (vehicle heat) below your Wanted Stars.
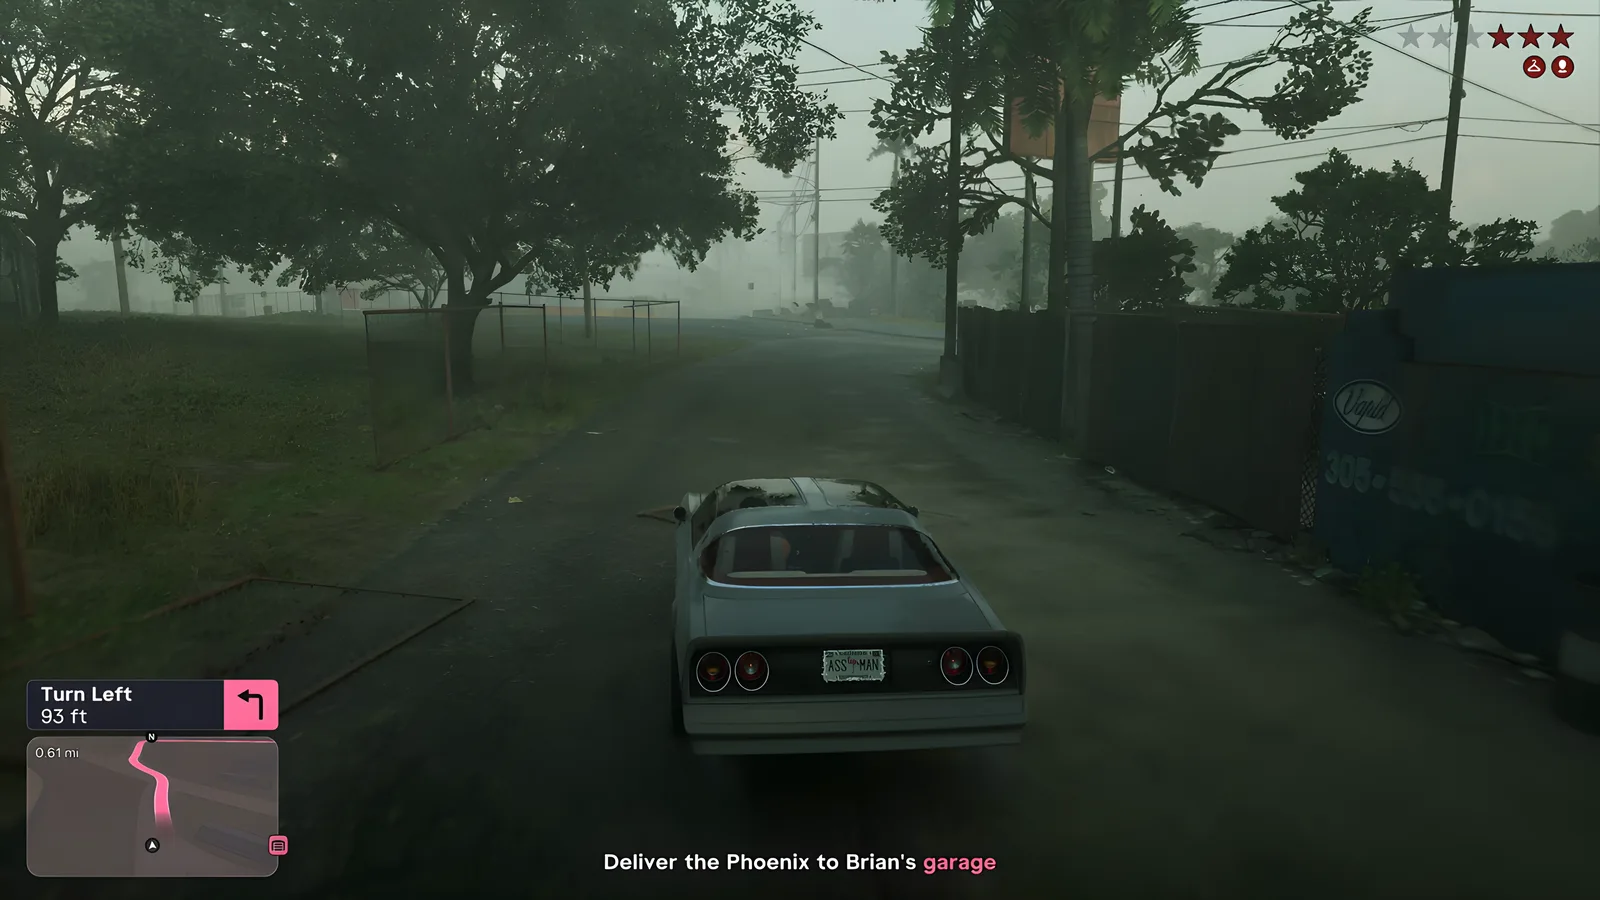
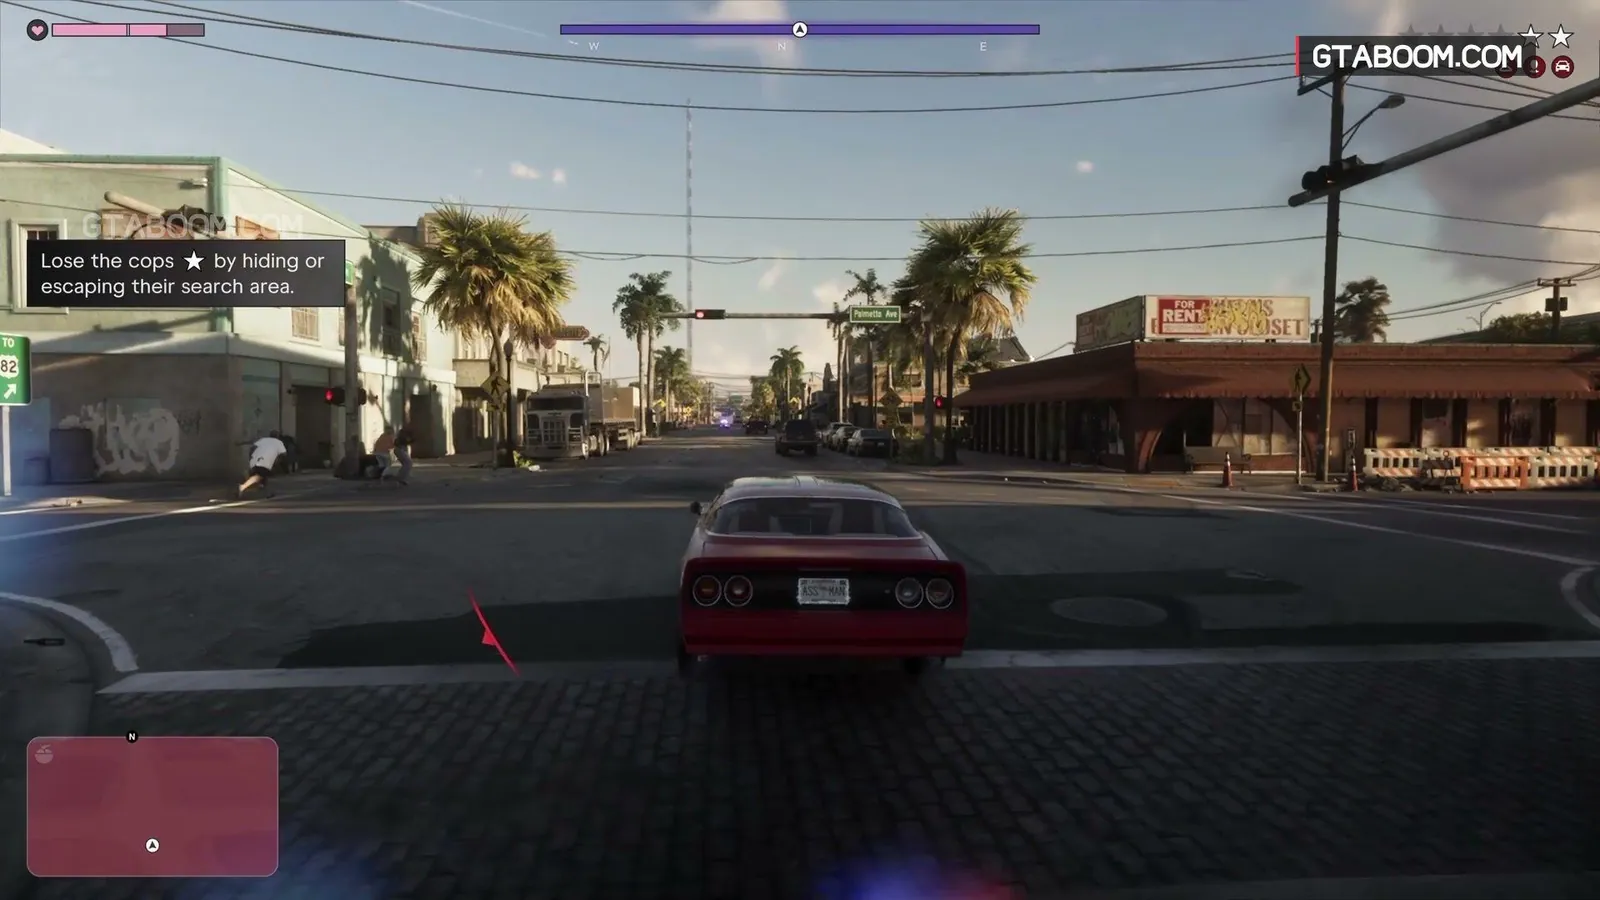
In Chapter 1 Unwanted Attention records (separate playthroughs by GTA6 Heists and GTA BOOM), the stars and other identification icons stayed after the respray.
According to Polygon, the heat icons below the Wanted Stars show what the police know, and clearing vehicle identification removes the matching car icon.
The red map outline PowerPyx describes as the remaining heat radius, and Wanted Star colors, are covered in separate guides.
This guide covers GTA VI Story Mode and is based on story-mission gameplay records with PlayStation and Xbox prompts, as reported by sources as of November 21, 2026.
Pay ’n’ Spray Entry Rules and Steps to Clear Vehicle Heat
According to GamesRadar+ writer Josh West, you can't enter a Pay ’n’ Spray shop while police have a visual on you, which the HUD shows with fully filled Wanted Stars.
Eurogamer advises shaking off pursuing police before heading to the nearest Pay ’n’ Spray shop.
GTA Boss says Respray is locked when the vehicle has no heat.
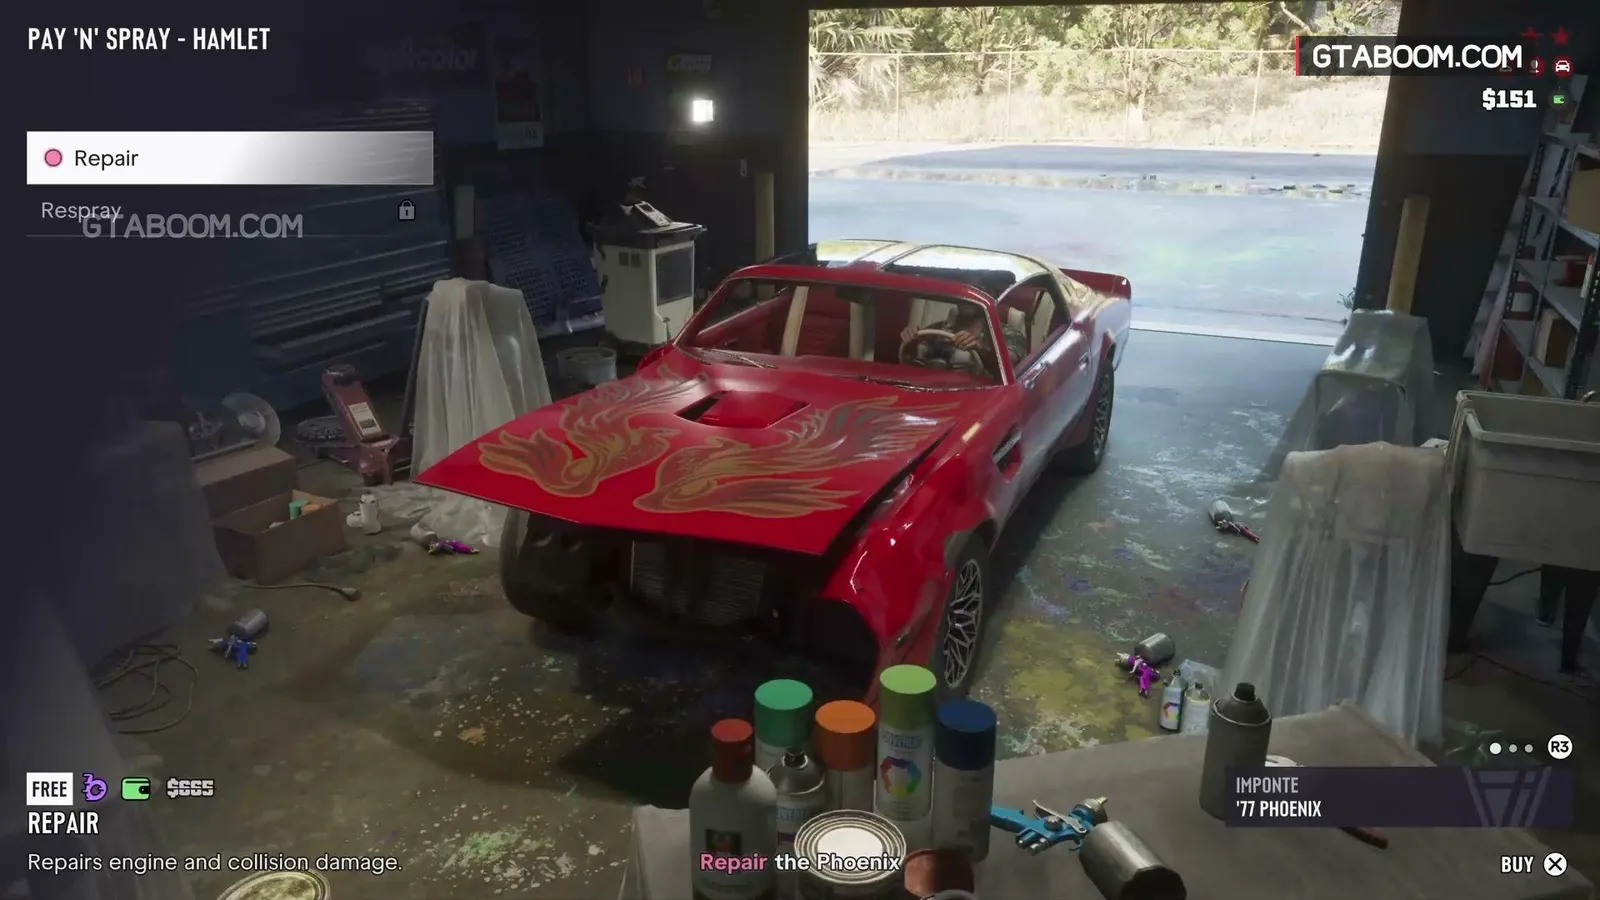
Separately, in GTA BOOM's record of the Chapter 1 mission Unwanted Attention at the Hamlet shop, Respray showed a lock while the car icon was still displayed at the top right, and choosing the free Repair first unlocked Respray.
That Chapter 1 record alone does not show what causes the lock or how to unlock Respray outside the mission.
- Break police line of sight until your HUD Wanted Stars are no longer fully filled.
- Open Index.
- Select Vehicles, then Pay ’n’ Spray.
- Choose a destination from your discovered shops to mark it (the nearest shop is one option).
- Drive the target vehicle into the marked Pay ’n’ Spray shop.
- Select Respray, choose a paint color and confirm it (see the Chapter 1 example below for color choice and the Buy button).
How to read filled, flashing and red Wanted Stars
See the Pay ’n’ Spray shop list and how to find them on the map (PowerPyx)
Pay ’n’ Spray Repair and Respray Conditions and Prices
The example fees below are as listed by GTA Boss as of November 21, 2026.
| Repair scope (GTA Boss) | Fixes engine and collision damage |
|---|---|
| Port Gellhorn repair example (GTA Boss) | $725 (in-game) for an engine-damaged Western ’72 Cliffhanger |
| Hamlet repair example (GTA Boss) | $100 (in-game) for an Imponte ’77 Phoenix, or Free during the designated story mission |
| Respray lock condition (GTA Boss) | Locked when the vehicle has no heat |
| What unlocked Respray at the Hamlet shop in Chapter 1 (GTA BOOM record) | Selecting the free Repair first (before Repair, Respray showed a lock while the car icon was still displayed) |
| Not determinable from the Chapter 1 record | What caused the Respray lock, and how to unlock Respray outside the mission |
| Regular Respray price | Unconfirmed (also listed as unconfirmed by GTA Boss) |
Chapter 1 Unwanted Attention Example at the Hamlet Shop
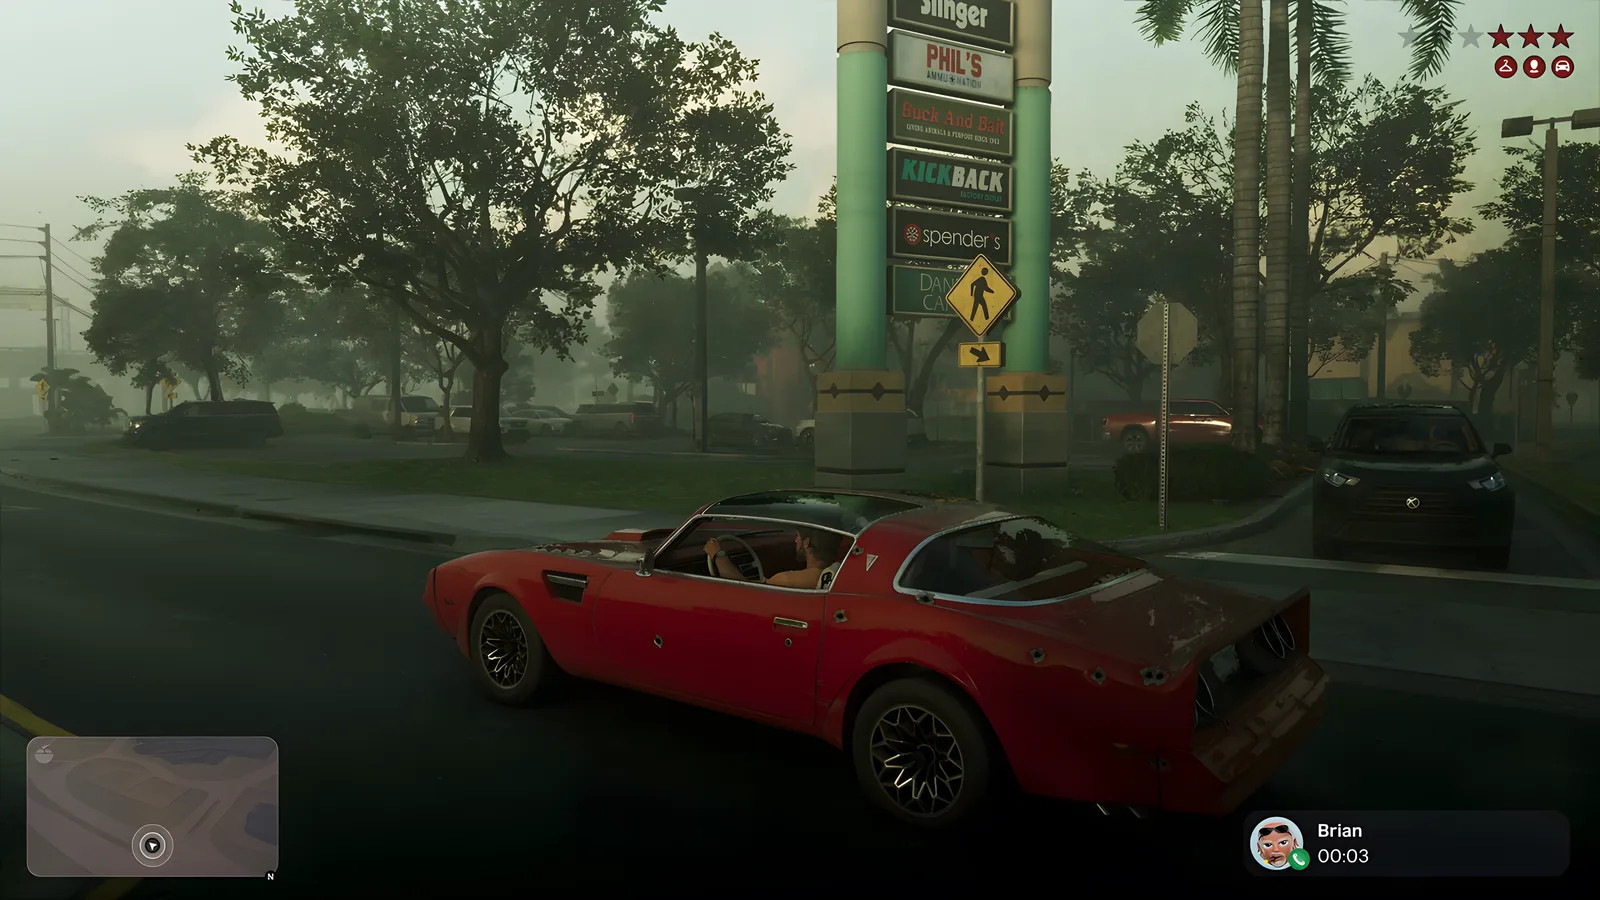
During the Chapter 1 mission Unwanted Attention, Jason takes a red Imponte ’77 Phoenix to the Hamlet Pay ’n’ Spray, takes the free Repair first, and then buys a paint color that is not too similar to the original red.
The car icon is gone once the car leaves the shop. The mission's garage disguise segment is covered in a separate guide.
GTA6 Heists’ screenshots at 05:44, 07:28 and 07:42 show the car icon present before the respray gone once the Phoenix leaves in grey-silver, while the Wanted Stars and other identification icons remain.
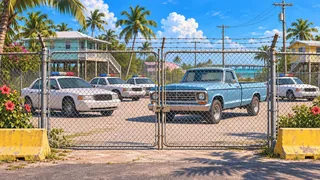
In GTA BOOM's separate playthrough, the car icon shown before the respray (the image in this guide's steps section) is likewise gone after the respray (the image in the opening section), while the Wanted Stars and other identification icons remain.
The steps below are GTA BOOM's Chapter 1 gameplay example, written up by Matt Gibbs from Hassan Sajid's playthrough.
According to GTA BOOM, choosing the original red can fail with a Too similar message even if it displays as Free.
- Break police line of sight and drive out of the shaded search area on your minimap.
- After speaking to Brian, follow the mission marker and drive the red Imponte ’77 Phoenix into the Hamlet Pay ’n’ Spray.
- Select Repair first, which is free during this mission and unlocks Respray.
- Pick a paint color that is clearly different from the original red.
- Confirm Buy by pressing X on PlayStation or A on Xbox.
- Drive the repainted Phoenix out of the shop and deliver it to Brian's garage as the next objective.
Fix for the Unwanted Attention garage disguise not completing